
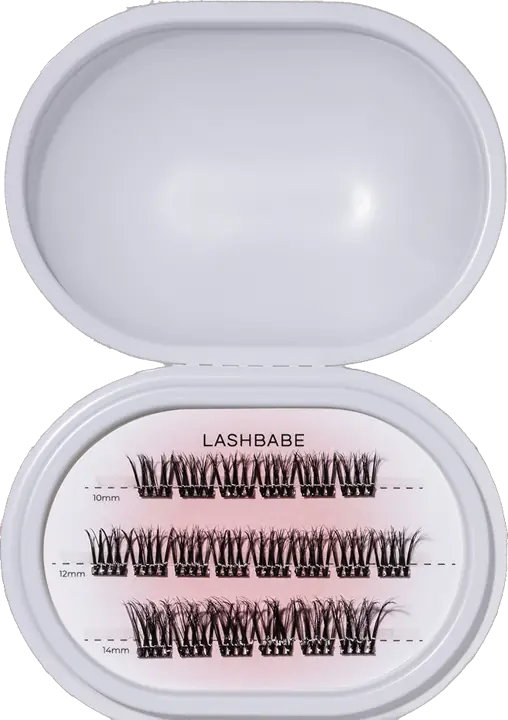

Take your time the first time. After a few goes it gets a lot quicker. Lay everything out before you start: your lashes, bond (Lash Glue), the SuperStay Sealer, your tweezers or applicator and a mirror you can see under your lashes in.
Using pre-glued Lash Vitamins? The glue is already on, so you don't need separate bond. Custom Fast Lashes you trim to the length of your eye first.
1. Start with clean lashes
Wash your lashes with Lash Shampoo or an oil-free cleanser and let them dry completely. No mascara, no cream.
2. Bond on your own lashes
Apply a thin layer of bond to the underside of your own lashes, where the cluster will go. More isn't better: a thick layer actually sticks less well. Check the packaging for how long to let the bond set.
3. Place the clusters from underneath
Pick up a cluster with your tweezers and place it under your own lashes, as close to the lash line as you can. Not on your skin and not on the waterline. Start at the outer corner or in the middle, whatever works best for you.
4. Squeeze them together
Gently squeeze your own lashes and the cluster together with the applicator so they become one. Work from the base to the tips.
5. Seal
Finish with the SuperStay Sealer over the base. This step is what keeps your lashes on for days instead of one evening.
Mistakes to avoid
- Too much bond. The clusters will slide.
- Clusters on the waterline. It feels uncomfortable and they hold less well.
- Skipping the sealer.
Not sure which style suits your eyes? Try the Lash Studio. Everything in one place at apply lash extensions yourself.

